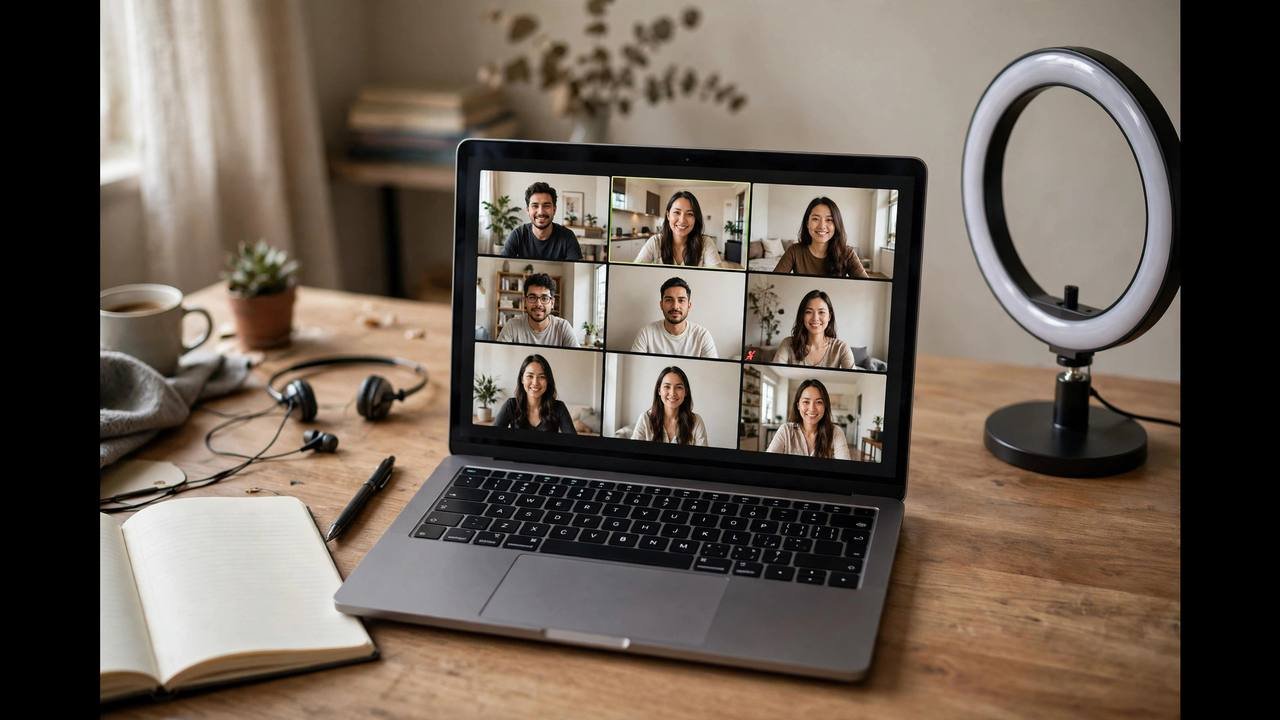
If you are learning how to use Zoom for online classes, you are in good company. Zoom became the default classroom for millions of Australian students during the pandemic, and it has stayed that way: schools, TAFEs and universities still run live tutorials, language classes and even full lectures through it. The good news is that Zoom is genuinely easy to use once you know where the buttons are. This beginner guide walks you through everything step by step — setting up an account, joining your first class, sharing your screen, using breakout rooms, and fixing the most common hiccups along the way.
You do not need any special technical skills. If you can install an app and click a link, you can use Zoom for your classes.
How to Use Zoom for Online Classes: Getting Set Up
Before your first class, give yourself fifteen minutes to set things up properly. Rushing this step is the main reason beginners hit trouble mid-lesson, so treat it as homework that pays off.
Download the Zoom app (not just the website)
Zoom runs in a web browser, but the full desktop or mobile app is far more reliable for classes. Go to zoom.us, click “Download” and grab the Zoom Workplace desktop app for your computer, or install Zoom from the App Store or Google Play on a phone or tablet. The app handles audio and video much better than the browser version, and features like breakout rooms and screen sharing work more smoothly.
On a computer, double-click the installer and follow the prompts. On a phone or tablet, grant the app permission to use your microphone and camera when asked — without these, nobody will hear or see you in class.
Create your account and sign in
Open the app and click “Sign Up Free” if you do not already have an account. You can register with an email address, or sign in with Google or Apple. Most schools and universities, however, will give you an institutional Zoom account or ask you to sign in with your school email — check the welcome email or enrolment portal from your institution before creating a personal account, because joining with the wrong account can cause licence issues.
Once signed in, click the gear or settings icon and check three things:
- Profile photo and display name: Use your real name as your school knows it. Teachers often take attendance from the participant list, and “iPhone” or a nickname can get you marked absent.
- Video: Preview your camera to make sure it works and shows your face, not the ceiling.
- Audio: Test your speaker and microphone so you are not scrambling during the first five minutes of class.
Joining Your First Zoom Class
Your teacher or tutor will send you a meeting link (it looks like zoom.us/j/ followed by numbers) and often a passcode. There are two ways to join:
- Click the link: The link opens Zoom automatically and takes you straight to the waiting room or the class.
- Join manually: Open the Zoom app, click “Join”, and type the meeting ID (the 9–11 digit number) plus the passcode if one was provided.
Most classes use a waiting room, which means you wait in a virtual lobby until the host admits you. This is normal and keeps random strangers out of the class. You will see a message like “Please wait, the meeting host will let you in soon.” Do not panic and do not re-click the link repeatedly — just wait.
Join two to three minutes early. Classes on the free Zoom plan have a 40-minute limit for meetings with three or more participants, so many teachers schedule back-to-back sessions. Arriving late means missing the setup instructions at the start.
How to Use Zoom for Online Classes: The Meeting Controls
Once you are in the class, look at the toolbar at the bottom of the Zoom window. These are the controls you will use constantly:
- Mute/Unmute (microphone icon): Mutes or unmutes your microphone. The golden rule of online classes: stay muted when you are not speaking. Background noise — dogs, siblings, traffic — goes straight into everyone’s ears.
- Start/Stop Video (camera icon): Turns your camera on or off. Many teachers require cameras on for attendance and engagement, but if your internet is struggling, turning video off is the quickest way to improve audio quality.
- Participants: Shows who is in the class. This panel also lets you raise your hand (more on that below).
- Chat: Opens the text chat. Teachers often ask students to answer questions here, and it is the polite way to ask a question without interrupting.
- Share Screen: Lets you show your screen to the class — used when presenting your work.
- Reactions: Emoji reactions like thumbs-up or clapping, plus the “Raise Hand” button.
- Leave: Exits the meeting. Click this at the end, or you will linger awkwardly after everyone else leaves.
The shortcut keys worth memorising
Two keyboard shortcuts will make you look like a pro: Alt+A (Windows) or Cmd+Shift+A (Mac) toggles mute instantly, and Alt+V or Cmd+Shift+V toggles video. Even better, hold the spacebar to temporarily unmute while you talk — release it and you are muted again. This “push to talk” trick is perfect for answering a quick question without fumbling for the button.
Participating Properly: Raise Hand, Chat and Reactions
Online classes fall apart when everyone talks over each other, so Zoom gives you orderly ways to participate. Use the Raise Hand feature (found under Reactions or in the Participants panel) instead of unmuting and jumping in. The teacher sees a little hand icon next to your name and calls on you in turn. Lower your hand after you have spoken so the teacher is not scanning a stale list.
The chat is your second-best friend. Use it to:
- Answer quick questions the teacher throws to the class
- Ask for clarification without interrupting the flow (“Sorry, which page of the textbook?”)
- Share links or resources with classmates
- Ask the teacher something privately — you can send a direct message to the host instead of everyone
One caution: in most classes the teacher can save the chat transcript, so keep it on-topic and polite. Private chats between students are also visible to the host in some setups, so never assume a side conversation is truly private.
Reactions (thumbs up, clapping hands, heart) are a quick way to respond without making a sound — great for “yes, I understand” moments. They disappear after a few seconds, so they will not clutter the screen.
Breakout Rooms: Small Group Work in Zoom
Breakout rooms are where Zoom splits the class into small groups for discussions or activities, then brings everyone back. Your teacher creates them — you just get invited. A pop-up will ask you to join; click “Join Breakout Room” and you are moved into a smaller meeting with a few classmates.
According to Monash University’s Zoom teaching guide, hosts can create up to 50 breakout rooms per session (100 in some configurations), assign students automatically or manually, and broadcast messages to all rooms at once. As a student, click “Ask for Help” inside a breakout room to summon the teacher, and watch for the countdown warning before rooms close so you can wrap up your discussion.
If you get disconnected while in a breakout room, rejoin the main meeting link — the host can send you back into your group. For a deeper walkthrough of room controls from the teaching side, Monash’s guide to using Zoom breakout rooms is worth a look.
Screen Sharing for Presentations and Questions
Sooner or later you will need to share your screen — to present an assignment, show a problem you are stuck on, or walk the class through a project. Click Share Screen in the toolbar, then choose what to share. You have three main options:
- Your entire desktop: Shows everything on your monitor. Close personal tabs, messages and anything embarrassing first.
- A specific window: Shares just one application, like PowerPoint or a Word document. This is the safest choice.
- A browser tab: Useful for showing a website or online quiz.
Two pro tips: tick “Share sound” if your presentation includes audio or video clips, otherwise the class will see the video but hear silence. And if you are presenting slides, put them in full-screen slideshow mode after you start sharing the specific window — the audience sees a clean presentation while you keep your notes visible on your own screen (a second monitor makes this effortless).
When someone else is sharing and you want to point something out, use Annotate — it lets you draw or type on the shared screen. Teachers love this for collaborative problem-solving, but do not doodle on someone’s presentation for fun.
Useful Zoom Features for Online Classes
Beyond the basics, a few features make a real difference to your class experience:
- Live captions: Zoom can display automatic captions during the meeting. Turn them on via the “Show Captions” button if your teacher has enabled them — they are a lifesaver if your audio is glitchy or you are hard of hearing.
- Polls: Teachers launch quick multiple-choice polls during class. Answer honestly; results are often anonymous and help the teacher check understanding.
- Whiteboard: A shared drawing space the whole class can write on. Zoom’s built-in whiteboard works for brainstorming, maths working and diagrams.
- Virtual backgrounds: Blur your background or replace it with an image. Genuinely useful if your study space is a shared bedroom — just test it beforehand, because poor lighting makes virtual backgrounds glitch around your outline.
- Recording: If the host records the class (to the cloud or their computer), you will see a recording indicator. Cloud recordings are usually shared afterwards so you can revise. Note that recording others without consent can breach privacy rules — always check before recording a class yourself.
- Gallery vs Speaker view: Gallery view shows everyone in a grid; Speaker view highlights whoever is talking. Switch with the button in the top-right corner. Gallery view is better for discussions, Speaker view for lectures.
Class Etiquette: Looking and Sounding Professional
Treat a Zoom class like a real classroom and you will stand out for the right reasons:
- Camera at eye level: Prop your laptop on books if needed. Nobody wants to stare up your nose for an hour.
- Face a light source: Sit facing a window or lamp. Light behind you turns you into a silhouette.
- Use headphones: They prevent echo (your microphone picking up the class audio from your speakers) and keep the class private from others in your home.
- Dress appropriately: You only need to look presentable from the waist up, but pyjama bottoms have caused famous mishaps when people stand up.
- Minimise distractions: Close social media tabs, silence your phone, and tell housemates you are in class.
- Stay engaged: Nod, react, answer in chat. Teachers notice who is present and who has mentally checked out.
A decent webcam and microphone make a bigger difference than most students expect — if your built-in gear is letting you down, see our guides to the best webcams for online learning and the most common Zoom audio and video problems and their fixes.
Troubleshooting Quick Fixes During Class
When something goes wrong mid-class, do not panic — run through these in order:
- They can’t hear you: Check you are unmuted, then click the arrow next to the microphone icon and make sure the correct microphone is selected (laptops often default to the wrong device).
- You can’t hear them: Check your speaker selection the same way, and turn your volume up. If the whole class is silent, try leaving and rejoining.
- Frozen video or robotic audio: Turn off your camera to free up bandwidth, close other apps using the internet, and move closer to your Wi-Fi router if you can.
- “Unable to connect”: Check your internet, restart the Zoom app, and if all else fails, join from your phone using mobile data as a backup.
For the full diagnostic walkthrough — including the operating-system privacy settings that silently block Zoom’s microphone and camera — read our dedicated guide on how to fix common Zoom problems.
Zoom on Phone vs Tablet vs Computer
A computer is the best device for Zoom classes: bigger screen, easier screen sharing, and full access to every feature. On a phone or tablet, tap the screen to reveal the hidden toolbar. If you must use a phone, join with Wi-Fi rather than mobile data, keep it plugged in, and prop it up rather than holding it — shaky video is distracting for everyone.
Staying Safe on Zoom
A few safety basics: never share your class meeting link or passcode publicly — that is how “Zoombombing” happens. Do not click links posted in chat by strangers. Keep your Zoom app updated, because updates patch security holes. And remember that anything you say or type in class could be recorded, so the same behaviour rules apply as in a physical classroom.